Google Workspace
Set Up Instructions
1. Go to the Integrations page within Ploy
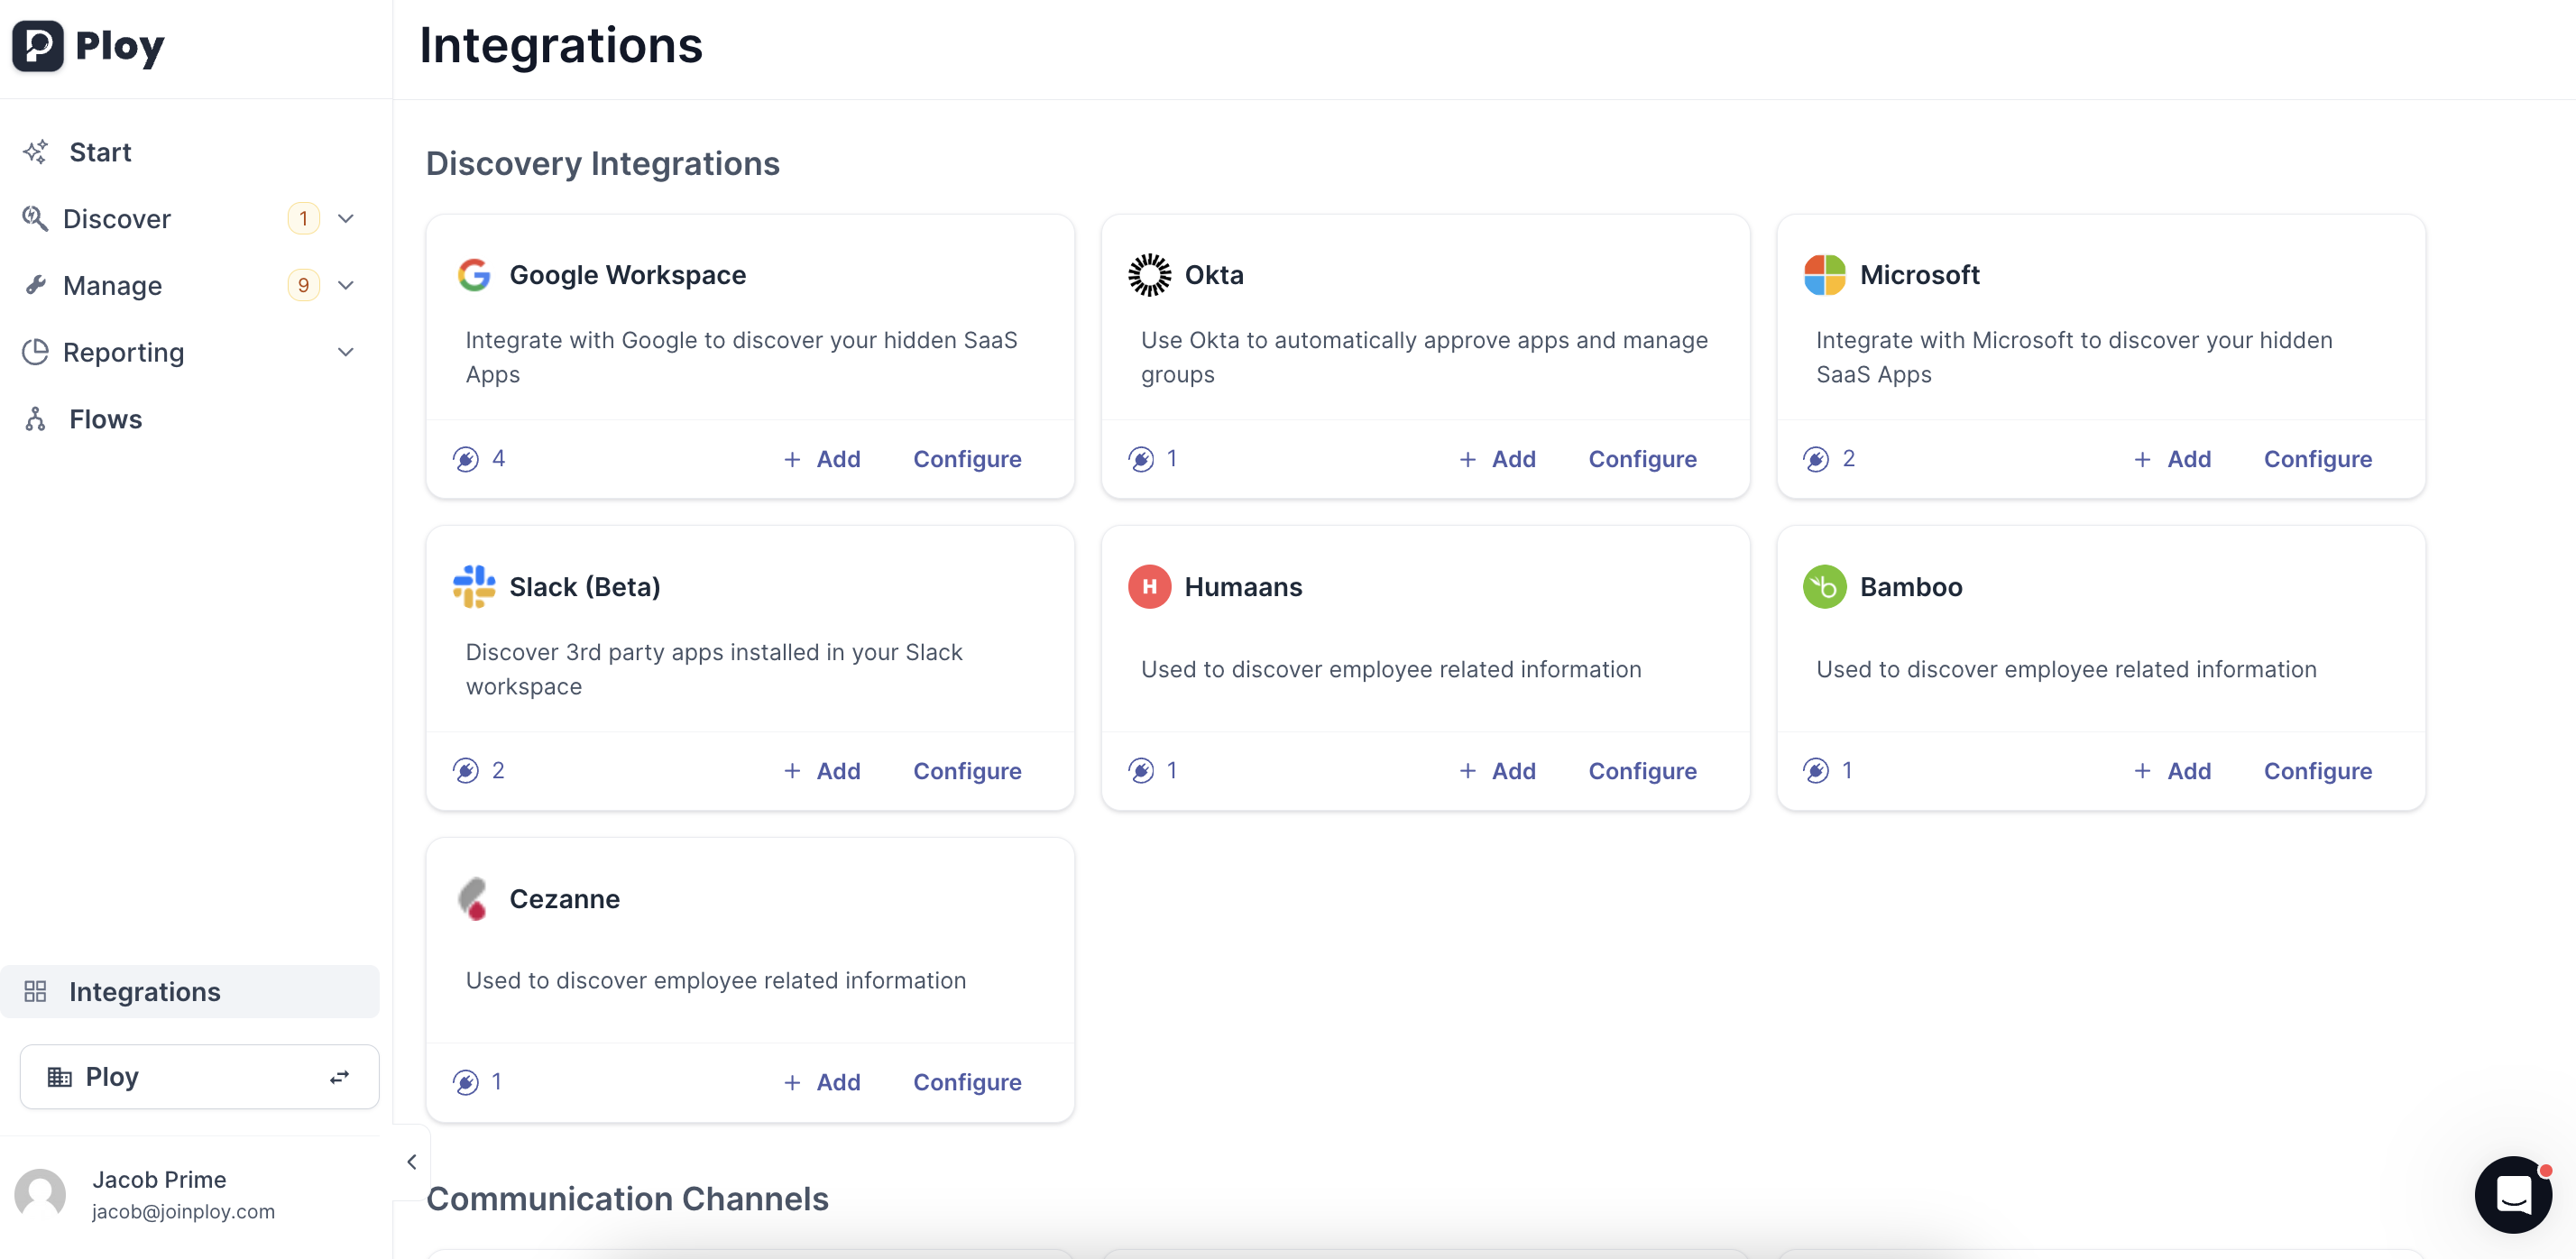
Navigate to the integrations page in the bottom left of Ploy and select the Google Workspace integration.
2. Authenticate your admin account
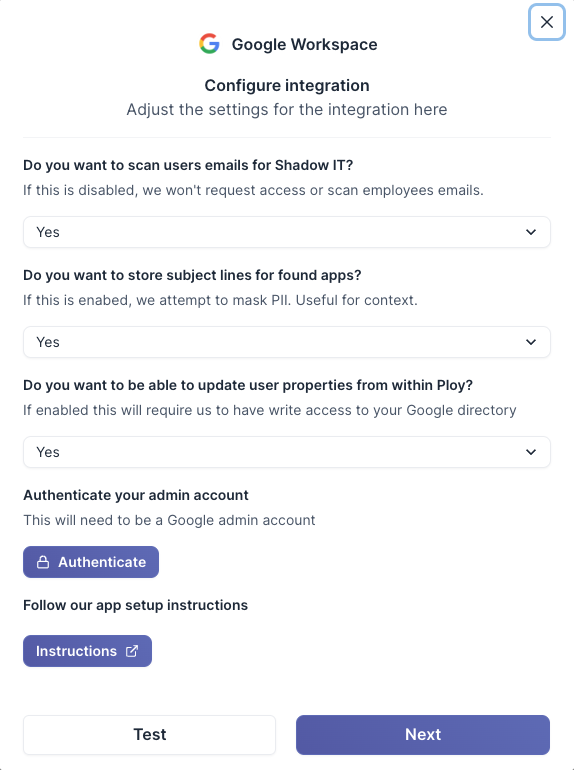
The first page of the setup wizard asks you to sign in with Google. Click the authenticate button and sign in with a Google Workspace admin account for the domain you want to connect. Ploy only stores the admin email address from this sign-in — it is used as the account Ploy impersonates via domain-wide delegation in the later steps.
This page also contains a link back to these instructions.
3. Configure Permissions
The second page lets you choose which permissions Ploy will request from your Google Workspace. Required permissions are always enabled; optional permissions can be ticked on or off depending on the features you want.
Important: any change you make here must also be applied in Google. Keep going through the remaining setup steps to the end, otherwise Google will not have the permissions you selected and the integration will stop working.
Required permissions (always enabled):
Users (Read) —
https://www.googleapis.com/auth/admin.directory.user.readonly— Read user information from your directory. Required to sync employee profiles and detect account status changes.Customer Info —
https://www.googleapis.com/auth/admin.directory.customer.readonly— Read your organization's customer information. Required to identify your Google Workspace organization.Groups —
https://www.googleapis.com/auth/admin.directory.group— Read and manage Google Groups in your domain. Required to sync Google Groups and manage group memberships.Organizational Units —
https://www.googleapis.com/auth/admin.directory.orgunit.readonly— Read organizational unit information. Required to understand your organizational structure.User Schemas —
https://www.googleapis.com/auth/admin.directory.userschema.readonly— Read custom user schema definitions for field mappings. Required to map custom Google user fields to Ploy.User Security —
https://www.googleapis.com/auth/admin.directory.user.security— View user security settings like 2FA status and app passwords. Required to monitor MFA status and security compliance.
Optional permissions (enable for specific features):
Users (Full) —
https://www.googleapis.com/auth/admin.directory.user— Read and update user information in your directory. Enables updating user properties from Ploy (e.g. department, title).Audit Reports —
https://www.googleapis.com/auth/admin.reports.audit.readonly— Read audit and investigation reports for security monitoring. Detects third-party apps your users have authorised via Google sign-in (OAuth grants) and tracks shared-drive activity (last-activity dates).Gmail (Read) —
https://www.googleapis.com/auth/gmail.readonly— Read access to Gmail message headers. Required for Shadow IT detection via email scanning. Ticking this permission is what turns on email scanning — there is no separate email-scanning setting.Drive (Read) —
https://www.googleapis.com/auth/drive.readonly— Read access to Google Drive files. Required to scan Drive files and permissions.Drive (Full) —
https://www.googleapis.com/auth/drive— Full access to Google Drive files. Required to manage Drive file permissions.Usage Reports —
https://www.googleapis.com/auth/admin.reports.usage.readonly— Read usage reports for apps and users. Required for app usage analytics and insights.Role Management (Read) —
https://www.googleapis.com/auth/admin.directory.rolemanagement.readonly— View admin role assignments. Required to view Google Workspace admin roles.Role Management (Full) —
https://www.googleapis.com/auth/admin.directory.rolemanagement— Manage admin role assignments. Required to manage Google Workspace admin roles.License Management —
https://www.googleapis.com/auth/apps.licensing— Read and manage Google Workspace license assignments. Required to scan license holders and assign/revoke Workspace licenses from Ploy. See License Management Setup below.Calendar Events —
https://www.googleapis.com/auth/calendar.events— Create and manage calendar events on behalf of users. Required to schedule Google Calendar meetings via Luna or offboarding flows.
4. Authenticate with Google (domain-wide delegation)
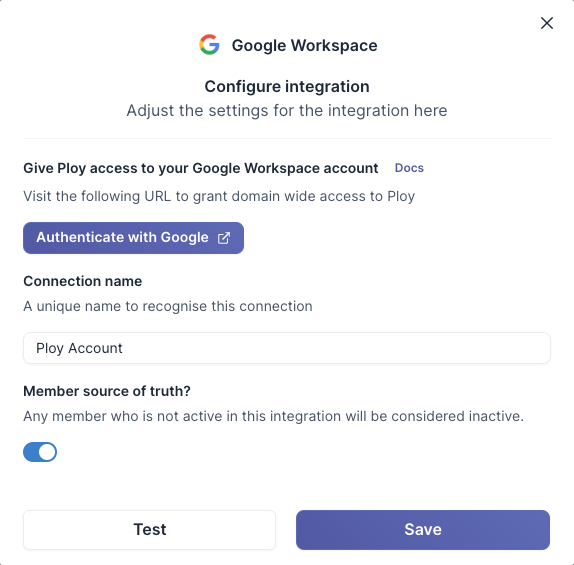
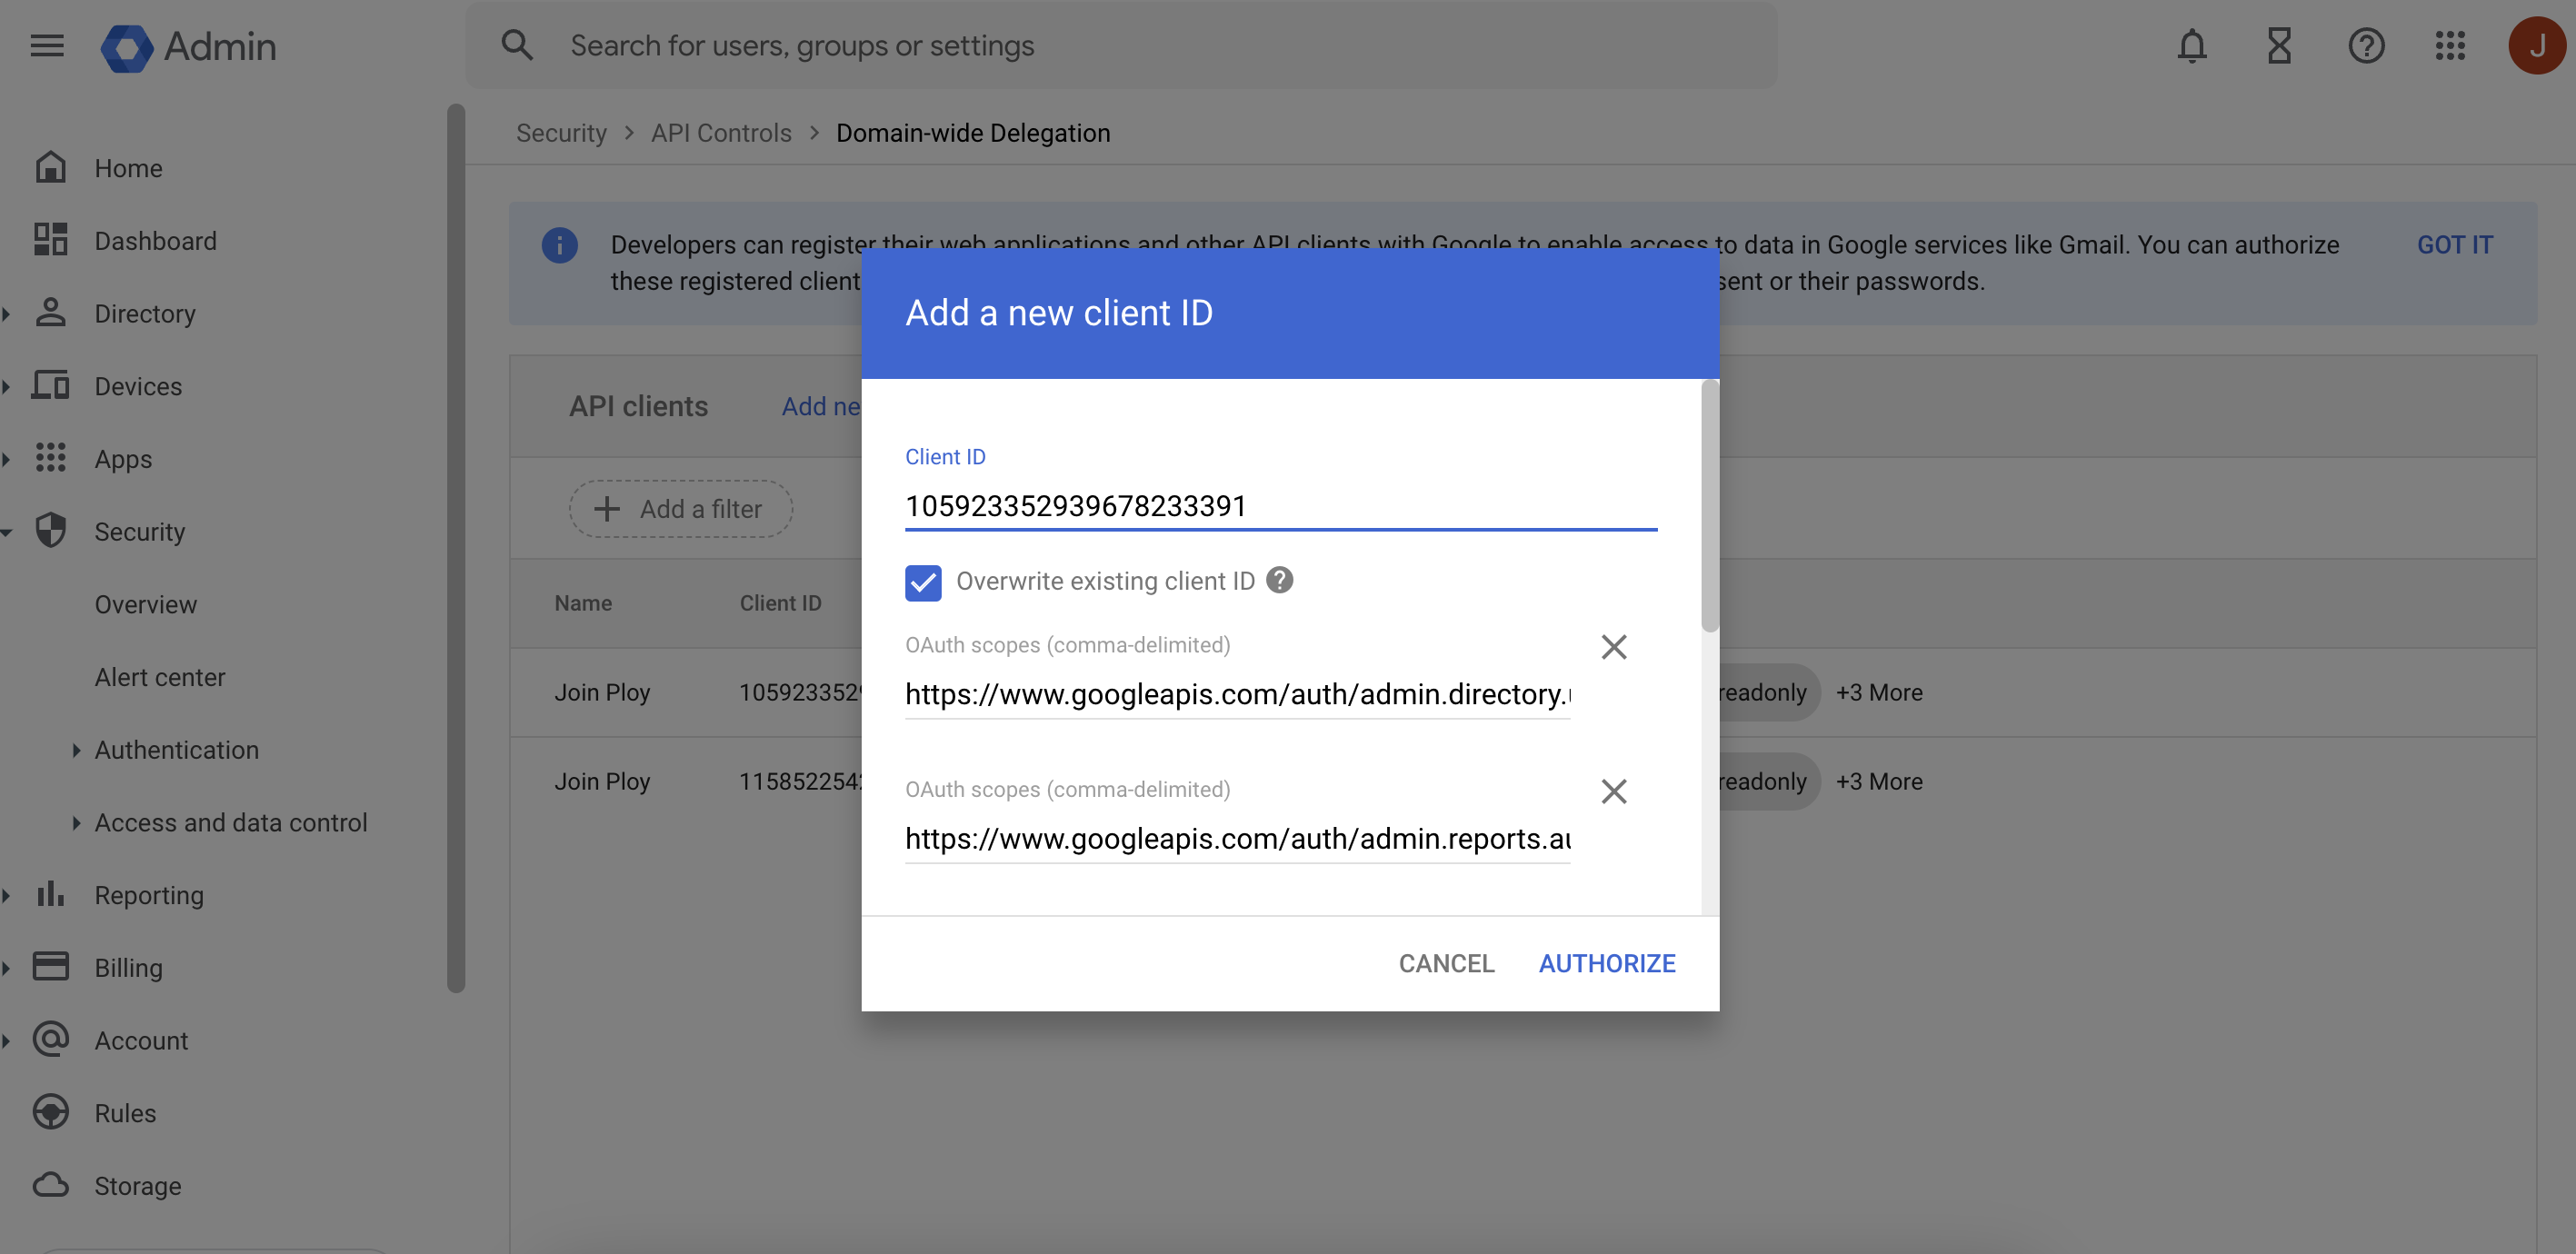
On the third page, click Authenticate with Google. This opens the Domain-Wide Delegation page in your Google Admin console with Ploy's service account Client ID and the exact permissions you selected in the previous step already filled in. Click Authorize in Google to grant domain-wide access to Ploy, then return to Ploy.
If you later change the permissions in Ploy (step 3), you must come back through this step again so that the scopes allow-listed in Google match the ones selected in Ploy.
5. Customise field mappings (optional)
The final page lets you optionally override how Ploy maps fields from Google user profiles (for example first name, last name, department, job title, location, employee ID and manager email) into Ploy employee fields. Standard Google fields and any custom user schema fields from your directory are available to choose from. You can skip this page if the defaults are fine.
6. Click Test and then Save the integration
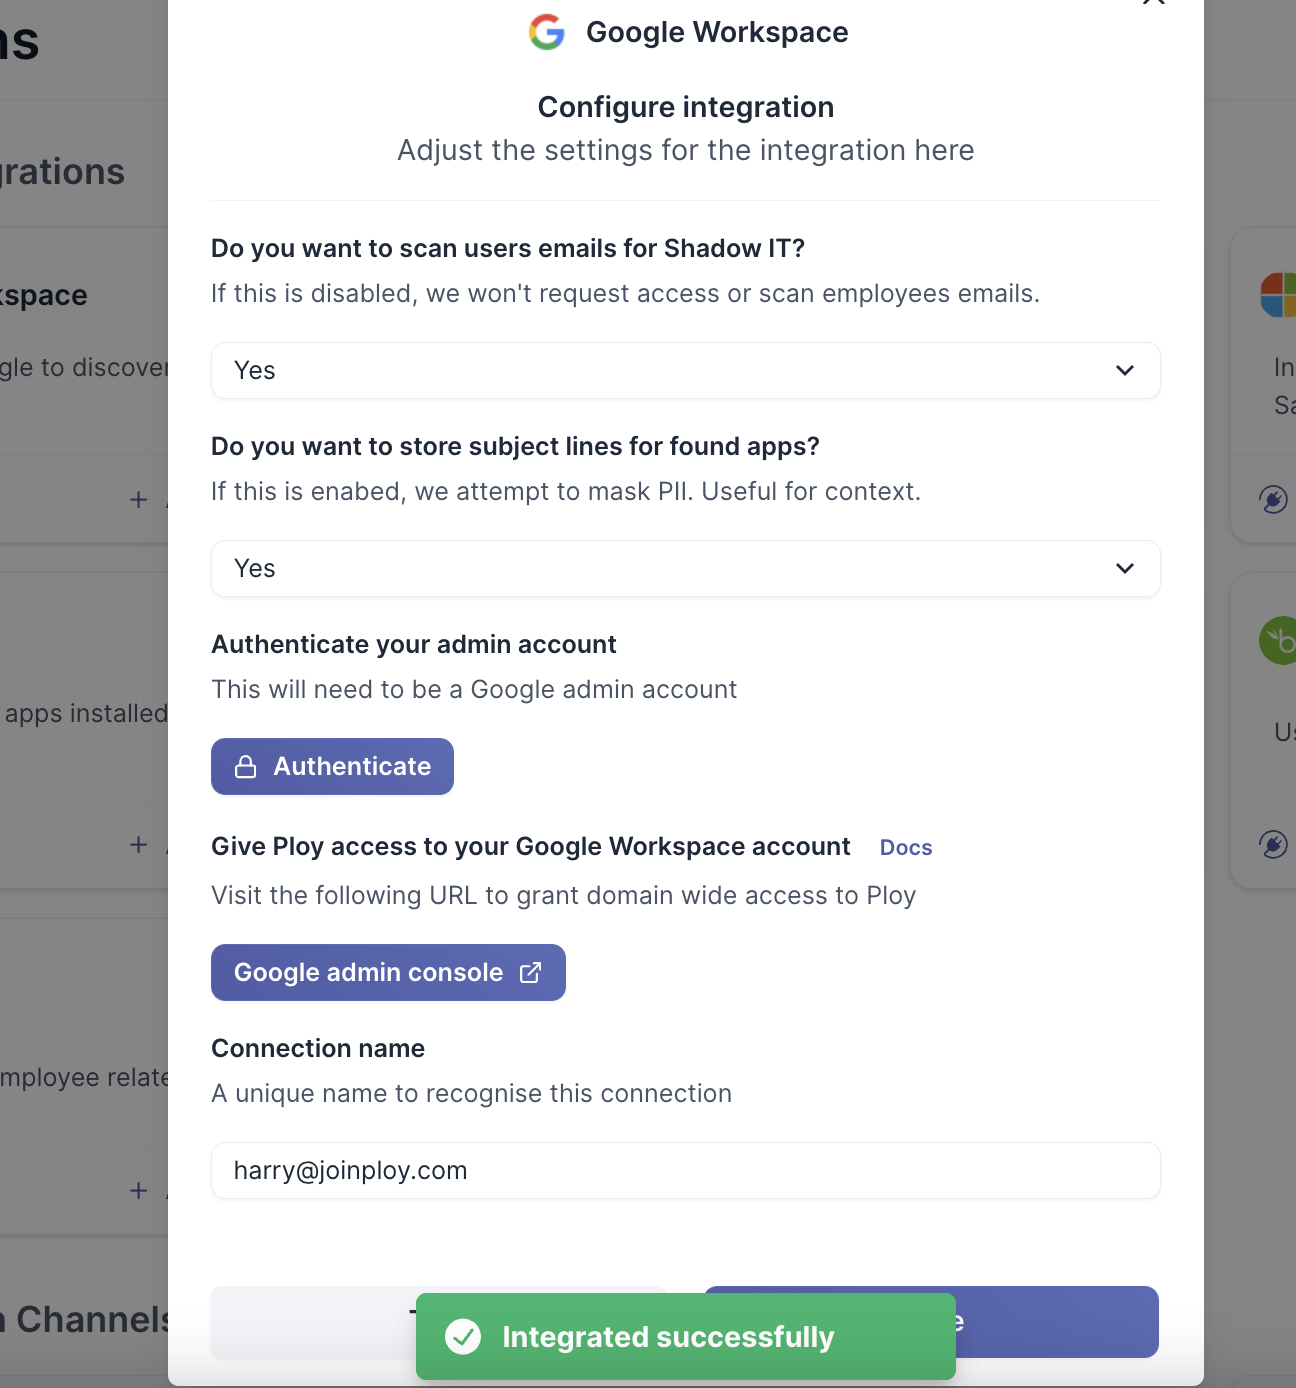
If you selected the License Management permission, the Test step also checks that Ploy can reach the Licensing API. If it cannot, you will be told that the License Management scope has not yet been approved in your Domain-Wide Delegation allowlist — follow the License Management Setup section below.
License Management Setup
To enable license scanning and management for Google Workspace, the License Management permission must be selected in Ploy (step 3) and the matching OAuth scope must be present in your Domain-Wide Delegation configuration. This is a per-customer, one-time setup performed in each tenant's Google Workspace Admin Console.
Scope Required
License management requires the following scope:
https://www.googleapis.com/auth/apps.licensing
Add the OAuth Scope to Domain-Wide Delegation
Each customer's Google Workspace Admin Console has an allowlist of OAuth scopes that Ploy's service account is permitted to impersonate. License management requires this scope.
The simplest way to add it is to tick License Management on the Configure Permissions page in Ploy and then go through the Authenticate with Google step again — the link pre-fills all selected scopes. Alternatively, add it manually:
Go to https://admin.google.com
Navigate: Security → Access and data control → API controls → Manage Domain-Wide Delegation (menu path may vary — verify in your console)
Find the row for Ploy's service account — the Client ID is 105923352939678233391
Click the row, then click Edit
Append
https://www.googleapis.com/auth/apps.licensingto the comma-separated OAuth scopes listClick Authorize
Wait 1–2 minutes for propagation before testing
If Ploy is not already in the customer's Domain-Wide Delegation list, add a new entry with the Client ID above and include https://www.googleapis.com/auth/apps.licensing alongside the other Google integration scopes. This typically only applies to brand-new customers — existing Ploy integrations will already have a DWD row.
Auto-Licensing Constraint
Google Workspace can be configured to automatically assign licenses to new users based on rules. When this setting is enabled, Ploy cannot assign or revoke licenses via the Google API.
For Ploy to manage licenses on your behalf, auto-licensing must be disabled in your Google Workspace Admin Console. This makes sense — you cannot assign licenses arbitrarily via API calls if Google is already configured to assign them automatically.
To disable auto-licensing:
Go to https://admin.google.com
Navigate: Billing → Subscriptions
Click the license type you want Ploy to manage
Turn off Auto-assign licenses
Once disabled, Ploy can grant and revoke licenses for that license type through the integration.